for this section of decking, I'm going to have to use some filler on it, because there are areas where small gaps and separations are present. in most of the pieces, for some reason, there is a bowing effect going on...I need to level this to make it flat, leaving the natural tilt to the structure as a form of water runoff. I added wood stripping to the sides of the lower housing, sanding to to make it flat and to achieve the tilt needed.


these pieces above, the side walls, proved to be a problem. I did sort of a test bend to the tails of the walls and it broke! the material was too stiff......I didn't want to soak the parts in water, because of the glue that I am using. I chose to cut the tails off. later in the assembly, i will use a more flexible wood to make them. I cut out the windows in the front wall, which is made up of a sort of very thin plywood. this and the way the grain of the wood goes, is very flexible and will wrap around the front area quite nicely. I kind of wished that the entire helm room was made up of this type of wood, it would have simplified matters a lot.
I added strips of wood {fillers} to aide in flattening out the parts that needed it and sand them down to the desired shape. I then setup the rear cabin, reinforcing it as I went along.


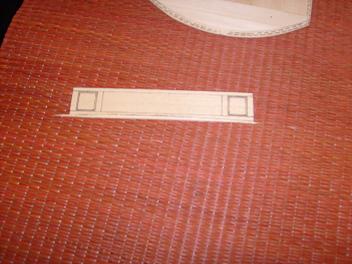
here, you can see where I added small pieces of wood to the top of the rear helm wall to flatten it at the roof line. tabs were cemented around the inside edges of the rear cabin roof to aide in assembly. I also reinforced the inside of the cabin as well. the lower pad for the front wall was also cemented into place, in order to check the proper placement of the dash kick panel. the side walls were next and the doorway pads were planked and set up for staining. here, I used the 1/16 inch planking......no borders limited me from doing this. the deck planking for the inside of the helm room was also cut and stained, readying them for clear coating as well.


the upper stern plates were cemented in next. I also cemented in support pillars along the divider wall to aide in assembly. there seems to be a more aggressive tilt to them. checking this out, I found that the use of clamps {clothes pins in my case}, would correct most of this problem, however; I would have to install some type of filler boards to hide it and bring them out to the edge better. this is probably another shrinkage problem that occurred due to the age of the kit and where it was stored. I can fix this.


once this was done, connecting the upper deck to the lower housing was in order. please pay no attention to the spray can holding the assembly down......it's the paint for below the water line. you can see how the deck sits flush and flat......even at the stern.


